
The To-Do List is the “Hello World” of web applications—and for good reason!
It teaches you the essential flow of modern web development: handling user input, manipulating the Document Object Model (DOM), and styling user feedback.
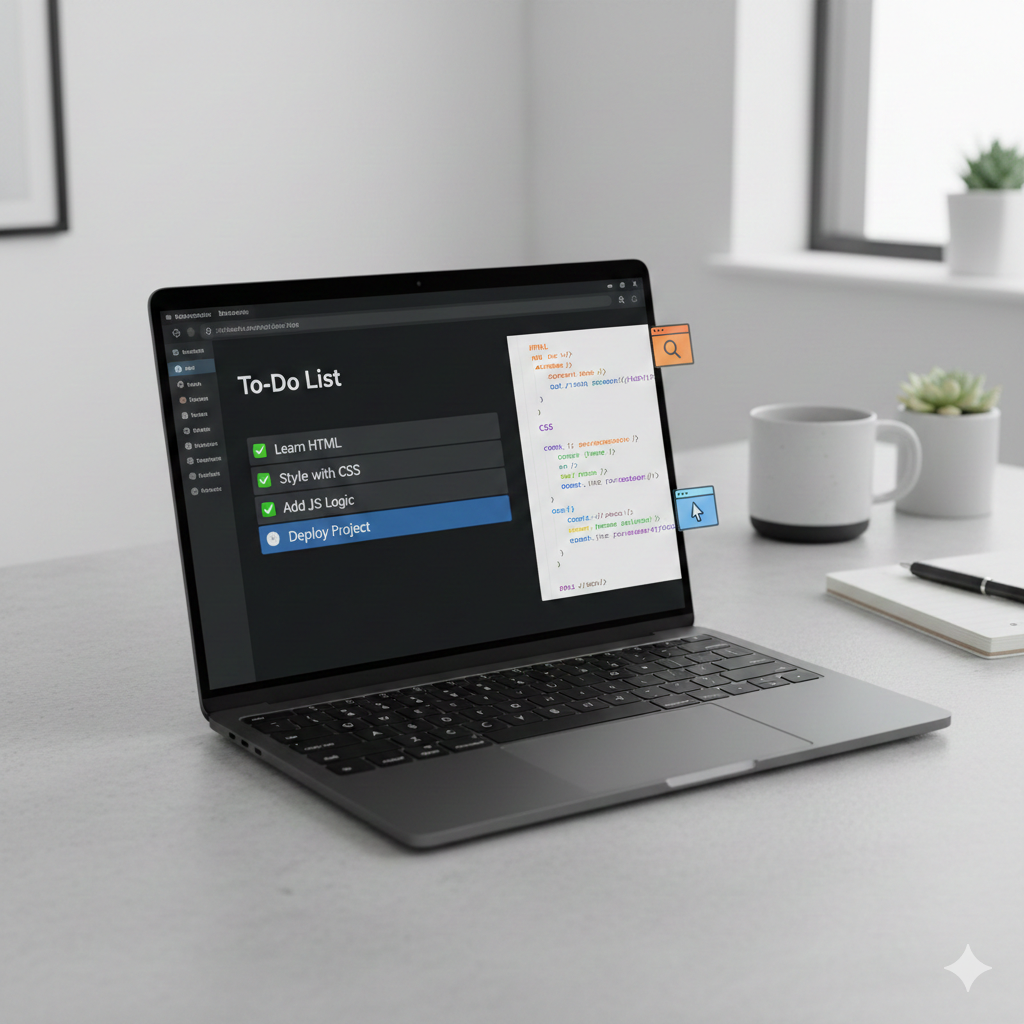
In this tutorial, we will build a functional, persistent To-Do list using only HTML, CSS, and vanilla JavaScript.
🛠️ Prerequisites
-
A basic understanding of HTML tags and CSS properties.
-
A text editor (like VS Code).
-
A web browser.
Let’s start by creating three files: index.html, style.css, and script.js.
Step 1: HTML Structure (The Skeleton)
The HTML sets up the basic layout: a header, an input area for new tasks, and an unordered list (<ul>) to hold the tasks. We use IDs to easily target these elements later with JavaScript.
HTML:
<!DOCTYPE html>
<html lang="en">
<head>
    <meta charset="UTF-8">
    <meta name="viewport" content="width=device-width, initial-scale=1.0">
    <title>JS To-Do List</title>
    <link rel="stylesheet" href="style.css">
</head>
<body>
    <div class="container">
        <h1>My Task List</h1>
        <div class="input-area">
            <input type="text" id="task-input" placeholder="Enter a new task...">
            <button id="add-button">Add Task</button>
        </div>

        <ul id="todo-list">
            </ul>
    </div>

    <script src="script.js"></script>
</body>
</html>
Step 2: CSS Styling (The Look)
We will use simple CSS to make the application clean, centered, and visually indicate completed tasks.
CSS:
/* style.css */
body {
    font-family: Arial, sans-serif;
    background-color: #f4f4f9;
    display: flex;
    justify-content: center;
    align-items: center;
    min-height: 100vh;
    margin: 0;
}

.container {
    background-color: #fff;
    padding: 30px;
    border-radius: 8px;
    box-shadow: 0 4px 6px rgba(0, 0, 0, 0.1);
    width: 100%;
    max-width: 450px;
}

/* --- Input Area Styling --- */
.input-area {
    display: flex;
    margin-bottom: 20px;
}

#task-input {
    flex-grow: 1;
    padding: 10px;
    border: 1px solid #ccc;
    border-radius: 4px 0 0 4px; /* Rounded left corners */
}

#add-button {
    background-color: #007bff;
    color: white;
    border: none;
    padding: 10px 15px;
    border-radius: 0 4px 4px 0; /* Rounded right corners */
    cursor: pointer;
    transition: background-color 0.2s;
}

#add-button:hover {
    background-color: #0056b3;
}

/* --- List Styling --- */
#todo-list {
    list-style: none;
    padding: 0;
}

#todo-list li {
    display: flex;
    justify-content: space-between;
    align-items: center;
    padding: 10px;
    margin-bottom: 8px;
    background-color: #eee;
    border-radius: 4px;
    cursor: pointer;
    transition: background-color 0.2s;
}

/* Style for completed tasks */
.completed {
    text-decoration: line-through;
    color: #888;
    background-color: #d9d9d9 !important;
}

/* --- Delete Button Styling --- */
.delete-btn {
    color: #ff4d4d;
    font-weight: bold;
    margin-left: 15px;
    cursor: pointer;
}
Step 3: JavaScript Logic (The Brain)
Now for the core logic. We need functions to add a task, toggle its completion status, and delete it.
3.1 Setup & Element Selection
We start by selecting the HTML elements we need to interact with.
JavaScript:
// script.js
const taskInput = document.getElementById('task-input');
const addButton = document.getElementById('add-button');
const todoList = document.getElementById('todo-list');

// Attach the event listener to the Add button
addButton.addEventListener('click', addTask);
// Also allow adding tasks by pressing 'Enter'
taskInput.addEventListener('keypress', function(e) {
    if (e.key === 'Enter') {
        addTask();
    }
});
3.2 The addTask() Function
This function handles creating the new list item element and inserting it into the DOM.
JavaScript:
// script.js (continued)

function addTask() {
    const taskText = taskInput.value.trim();

    // 1. Basic validation: Don't add empty tasks
    if (taskText === "") {
        alert("Please enter a task!");
        return;
    }

    // 2. Create the list item (li)
    const listItem = document.createElement('li');
    listItem.textContent = taskText;

    // 3. Create the delete button (span)
    const deleteBtn = document.createElement('span');
    deleteBtn.textContent = 'X';
    deleteBtn.classList.add('delete-btn');

    // 4. Attach event listeners to the new item

    // Click on the task itself to mark complete/incomplete
    listItem.addEventListener('click', function() {
        listItem.classList.toggle('completed');
    });

    // Click on the 'X' to delete the task
    deleteBtn.addEventListener('click', function(e) {
        // Stop the 'completed' toggle from firing when clicking delete
        e.stopPropagation();
        listItem.remove();
    });

    // 5. Assemble and append
    listItem.appendChild(deleteBtn);
    todoList.appendChild(listItem);

    // 6. Clear the input field for the next task
    taskInput.value = '';
}
✨ Bonus Step: Data Persistence (Never Lose Your List!)
To prevent the list from disappearing when the user refreshes the page, we use the browser’s localStorage.
3.3 Adding Storage Logic
Wrap the previous logic in functions that also interact with localStorage.
-
Modify
addTaskto also save to storage. -
Create
saveTasksto update storage every time. -
Create
loadTasksto rebuild the list when the page loads.
(Since this involves slightly more complex state management, I’ll stop here to keep the post brief, but this is a fantastic follow-up tutorial!)
Wrap-up
Congratulations! You now have a fully functional To-Do List application. This project demonstrated the core skills of front-end development:
-
HTML: Creating the basic page structure.
-
CSS: Styling for usability and aesthetics.
-
JavaScript: Dynamically creating elements (
createElement), handling user events (addEventListener), and modifying the DOM (appendChild,toggle,remove).
Useful links below:
Let me & my team build you a money making website/blog for your business https://bit.ly/tnrwebsite_service
Get Bluehost hosting for as little as $1.99/month (save 75%)…https://bit.ly/3C1fZd2
Best email marketing automation solution on the market! http://www.aweber.com/?373860
Build high converting sales funnels with a few simple clicks of your mouse! https://bit.ly/484YV29
Join my Patreon for one-on-one coaching and help with your coding…https://www.patreon.com/c/TyronneRatcliff
Buy me a coffee  https://buymeacoffee.com/tyronneratcliff


