Imagine your application is a courier service delivering packages (data) from a central warehouse (the database) to customers (your users).
Now, imagine you have 100 packages bound for different addresses in the same neighborhood.
How would you deliver them?
The efficient way is to load all 100 packages into one truck, drive to that neighborhood once, and make all the deliveries.
The N+1 problem is what happens when you decide to take one package, drive it to the neighborhood, deliver it, drive all the way back to the warehouse, get the second package, and repeat that trip 100 times.
It’s slow, it’s exhausting, and it will absolutely destroy your delivery times (and your application’s responsiveness).
Anatomy of an N+1 Disaster (The Code)
In TypeORM, this mistake often feels intuitive.
Let’s look at a common scenario: you have Users and they have Posts (a standard One-to-Many relationship).
You want to display a simple list: User Name has written X posts.
A developer might write something like this
// Part 1: Get the users
// This runs 1 query (The "1")
const users = await userRepository.find();

// Part 2: Loop through each user to get their posts
for (const user of users) {
    // This looks simple, BUT...
    // This line executes N QUERIES (where N is the number of users)
    const posts = await postRepository.find({ where: { userId: user.id } });

    console.log(`${user.name} has written ${posts.length} posts.`);
}
This code works. It will produce the correct output. But under the hood, it’s a performance nightmare.
What is Happening? (The Technical Breakdown)
The term “N+1” perfectly describes the number of SQL queries your database is forced to execute.
-
The “1” Query:
const users = await userRepository.find();Your application asks the database:
"SELECT * FROM "user";". The database complies, sending back, say, 100 users. Your app now has 100 user objects sitting in memory. -
The “N” Queries:
We enter the
forloop. The application iterates through each user. For every single user object in that list of 100, the app hits the next line:await postRepository.find(...).This causes your application to pause its work, reach back out to the database, and ask:
-
Trip 1:
"SELECT * FROM "post" WHERE "userId" = 1;"(Wait for response…) -
Trip 2:
"SELECT * FROM "post" WHERE "userId" = 2;"(Wait for response…) -
…and it continues…
-
Trip 100:
"SELECT * FROM "post" WHERE "userId" = 100;"
-
The Damage
You just turned a task that should have taken 1 database request into 101 requests.
The cost isn’t just the database execution time; it’s the cumulative network latency for every single round trip.
If each request takes just 10ms of network time, your simple loop just added a full second of pure waiting time (10ms * 100 users = 1000ms).
This is even more critical when connecting to your database over a private network connection, where stabilizing connection overhead is key.
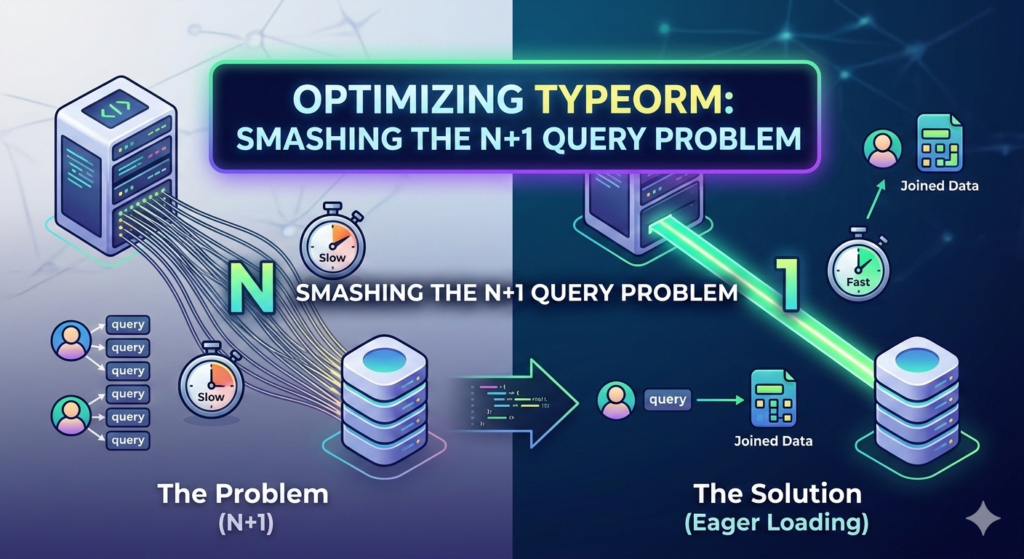
The Cure: Eager Loading and Joins
The solution is to use one efficient query that fetches all the data you need upfront. In SQL terms, this is a JOIN. In TypeORM, this is called Eager Loading.
Method A: Using relations (Simplified)
TypeORM can automatically perform the necessary joins or batching by simply adding a relations option to your find() call:
const users = await userRepository.find({
    relations: {
        posts: true, // Tells TypeORM: "Load posts too!"
    },
});

// TOTAL QUERIES: 1

// Now the 'user.posts' property is already populated
for (const user of users) {
    console.log(`${user.name} has written ${user.posts.length} posts.`);
}
Method B: Using QueryBuilder (For Precision)
If you need more control (like filtering which posts are returned or selecting specific columns), use the QueryBuilder.
This is the explicit way to write the JOIN.
const users = await userRepository
    .createQueryBuilder("user")
    .leftJoinAndSelect("user.posts", "post") // Perform a single SQL LEFT JOIN
    .getMany();

// TOTAL QUERIES: 1
Both methods above execute exactly one complex query (the single delivery truck) and are astronomically faster than the looped approach.
Conclusion
The N+1 problem is one of the easiest mistakes to make in any ORM, but once understood, it is also one of the easiest to fix.
By shifting from a strategy of iterate-and-fetch to fetch-what-you-need, you minimize database stress, dramatically reduce network round trips, and ensure your application remains responsive even as your data grows.
Always load related data efficiently using joins and relations, not loops.
Useful links below:
Let me & my team build you a money making website/blog for your business https://bit.ly/tnrwebsite_service
Get Bluehost hosting for as little as $1.99/month (save 75%)…https://bit.ly/3C1fZd2
Best email marketing automation solution on the market! http://www.aweber.com/?373860
Build high converting sales funnels with a few simple clicks of your mouse! https://bit.ly/484YV29
Join my Patreon for one-on-one coaching and help with your coding…https://www.patreon.com/c/TyronneRatcliff
Buy me a coffee  https://buymeacoffee.com/tyronneratcliff