Django is a powerful Python web framework for building the backend of your web application.
It follows the Model-View-Controller (MVC) architectural pattern, which helps in organizing code and separating concerns.
Key Features of Django:
- Rapid Development: Django’s high-level abstractions and built-in components significantly accelerate the development process.
- Scalability: It can handle high traffic and complex applications, making it suitable for large-scale projects.
- Security: Django has security features to protect against common web vulnerabilities like SQL injection and cross-site scripting (XSS).
- Versatility: It can be used to build a wide range of applications, from simple websites to sophisticated content management systems.
- Large and Active Community: A strong community provides extensive documentation, tutorials, and support.
Today I would like to teach you how to use the Django framework to create a simple backend.
Prerequisites
Before we dive into the installation process, ensure you have the following prerequisites:
- Python: Django is a Python-based framework. Make sure you have Python 3.7 or later installed. You can download the latest version from the official Python website: https://www.python.org/downloads/
- Text Editor: A good text editor is crucial for writing and editing code. Visual Studio Code is easy to use and used by most software engineers so I highly suggest you use VSC.
- Terminal or Command Prompt: This is where you’ll execute commands to install Django and manage your project.
Step # 1 – Creat a folder describing your project and load it into Visual Studio Code.
I like to create a folder on my desktop and then simply drag it into Visual Studio Code.
Step # 2 – Check if you have Python installed by typing py –version into the terminal (Windows).
If you don’t have Python installed you can download the latest version from this website right here.
Step #3 – Create a virtual environment by typing py -m venv .venv into the terminal. (Windows)
Step #4 – Activate your virtual environment by typing:
source .venv/Scripts/activate (Windows)
You’ll know if you have your virtual environment activated if you see (.venv) inside the terminal.
To deactivate your virtual environment simply type deactivate inside the terminal.
Step #5 – Install Django inside your virtual environment by typing:
py -m pip install Django
Step #6 – Create a Django project by typing:
django-admin startproject myproject (replace “myproject” with what you want to name your project).
You should now see a “myproject” folder (if you called your project “myproject”) inside your directory tree.
Step #7 – Navigate into the top level “myproject” folder by typing cd myproject
Step #8 – Start up your server by typing py manage.py runserver into the terminal. (8000 will be the port number by default but you can change it by typing the port number you want to use right after the word runserver
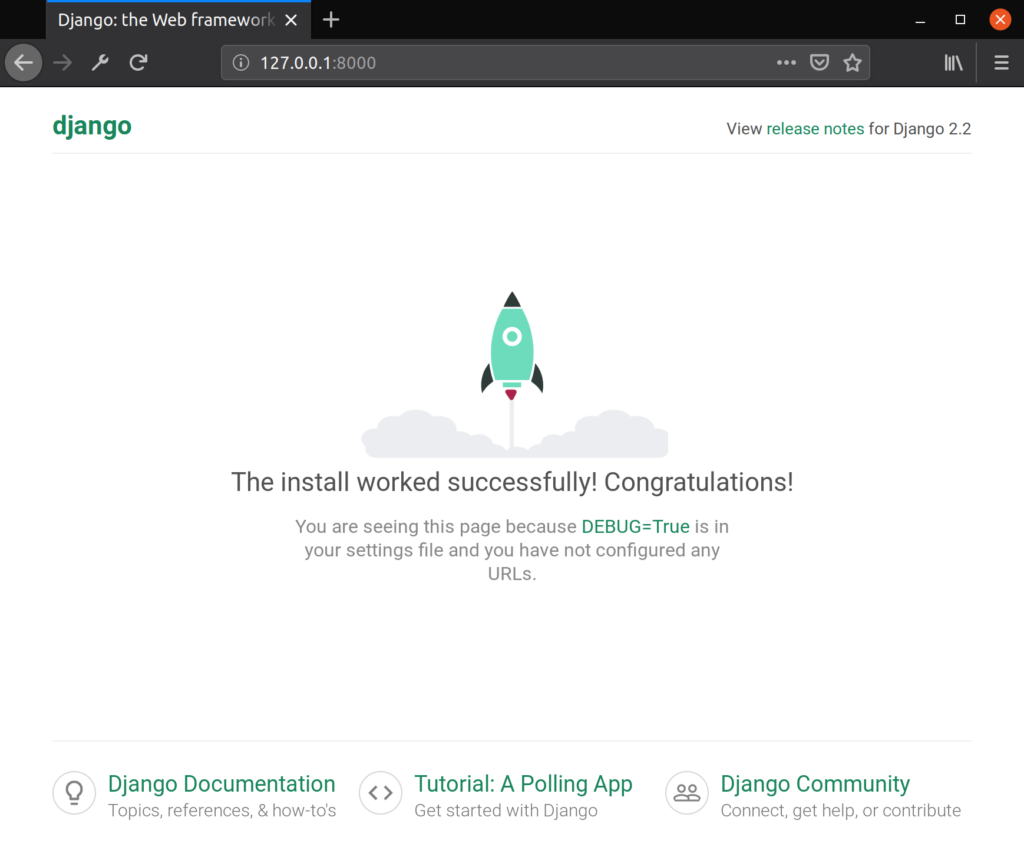
Your server should now be up and running!
If you paste http://127.0.0.1:8000/ into the serach bar you should see the default Django welcome page

The next part of the tutorial you are going to learn how create a Model,View,Tempate,and URL Dispatcher.
These will be the main components that make up your Django backend system.
Create a Model:
-
-
- Edit the
models.pyfile in yourmy_appapp:Python
from django.db import models

class Post(models.Model):
    title = models.CharField(max_length=200)
    content = models.TextField()
    pub_date = models.DateTimeField('date published')
- Edit the
-
Migrate the Database:
- Apply the database migrations:
python manage.py makemigrations
python manage.py migrate
- Apply the database migrations:
-
Create a View:
- Edit the
views.pyfile in yourmy_appapp:from django.shortcuts import render from .models import Post def post_list(request): posts = Post.objects.all() return render(request, 'my_app/post_list.html', {'posts': posts})
- Edit the
-
Create a Template:
- Create a template file
post_list.htmlin thetemplates/my_appdirectory:HTML
<!DOCTYPE html>
<html>
<head>
    <title>My Blog Posts</title>
</head>
<body>
    <h1>My Blog Posts</h1>
    <ul>
        {% for post in posts %}
        <li>
            <h2><a href="#">{{ post.title }}</a></h2>
            <p>{{ post.content }}</p>
        </li>
        {% endfor %}
    </ul>
</body>
</html>
- Create a template file
-
Update the URL Configuration:
- Edit the
urls.pyfile in yourmy_projectapp:from django.contrib import admin from django.urls import path, include urlpatterns = [ path('admin/', admin.site.urls), path('', include('my_app.urls')), ] - Create a
urls.pyfile in yourmy_appapp:from django.urls import path from . import views urlpatterns = [ path('', views.post_list, name='post_list'), ]
- Edit the
-
Run the Server:
- Start the development server:
python manage.py runserver - Access the URL: Open your web browser and go to
http://127.0.0.1:8000/to see the list of blog posts.
- Start the development server:
-
Additional Considerations
-
-
- User Authentication and Authorization: Implement user authentication and authorization mechanisms using Django’s built-in features or third-party libraries like the Django REST Framework.
- Database Optimization: Optimize your database queries and indexes to improve performance, especially for large datasets.
- Security Best Practices: Follow security best practices to protect your application from vulnerabilities like SQL injection, cross-site scripting (XSS), and cross-site request forgery (CSRF).
- Testing: Write comprehensive unit and integration tests to ensure the quality and reliability of your code.
- Deployment: Deploy your Django application to a production server using platforms like AWS, or Google Cloud Platform.
-
Conclusion
By following this step-by-step guide, you’ve successfully installed Django and created a simple backend.
Django’s powerful features and efficient development workflow empower you to build large and scalable web applications.
As you continue to learn more about Django, you’ll discover its other powerful features and community support,making it an ideal choice for the backend of your app.


